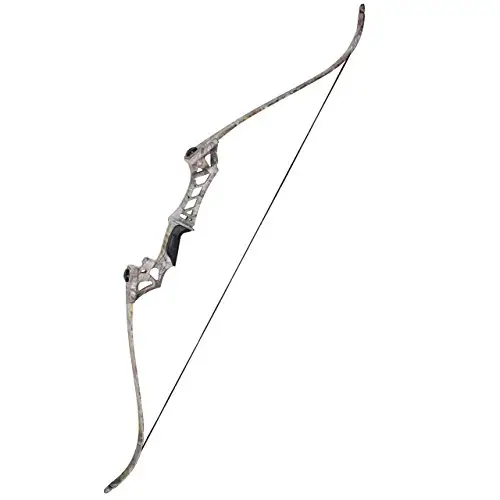
The Samick Sage takedown recurve bow is considered a good quality bow for target archery or hunting purposes. It is affordable and shoots just as well as more expensively priced bows. It has a smooth draw that gives an excellent arrow speed, hits its targets with great accuracy, and is a good choice for beginner and intermediate archers. The bow has takedown limbs that can be changed as an archer gains experience. Also learning how to string a Samick Sage recurve bow how never been easier!

The Bow Stringer
Although some people string their bows without a bow stringer, it is best practice to use a bow stringer to help you assemble the bow together. Make sure to get a sturdy quality bow stringer made of a material such as nylon. It is not advisable to string the bow by hand as there is always the possibility of something going wrong and you hitting and injuring yourself.
Parts of the Bow
A bow is composed of four main parts.
- The Riser
The riser is the bow’s primary support and is found in the center part of the bow that holds the bow together. All the other parts get connected to the riser. The Samick Sage bow is made from maple wood.
- Takedown Limbs
Two fiberglass laminate limbs. One significant aspect about the Samick Sage bow is that its two limbs are detachable, i.e., they can be taken off and replaced. This means you can adjust the draw weight of the limbs by putting in new limbs.
The more practice you have, the stronger the limbs you can get. You can start with 30-pound limbs and increase your limbs’ weight gradually. The stronger the limbs, the more draw weight you get out of your bow. A higher draw weight enables you to shoot your arrow faster. This also makes the bows easy to back and store.
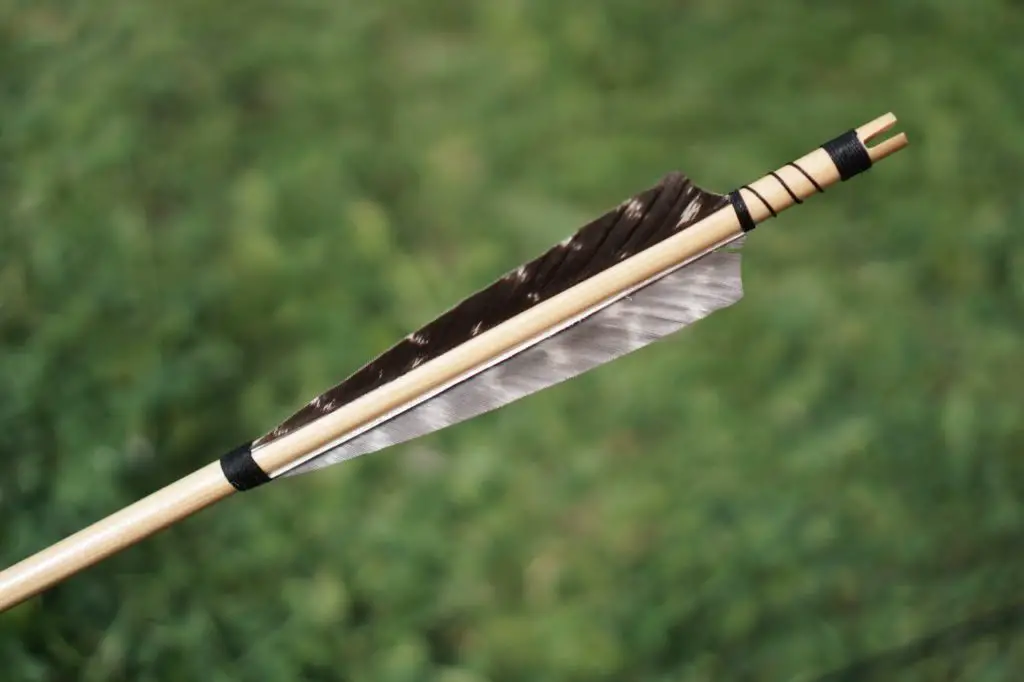
- String Nock or Nocking Rings
The ends of the arrow that make it possible to join it to the bowstring. The nock helps you attach and position your arrow correctly every time.
- Bowstring
The bow has 14 strand recurve strings that can be joined at the limbs’ tips, ready to fire on a target.
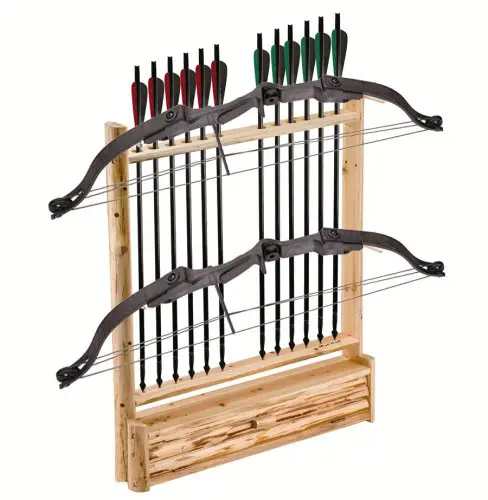
You can also select the best arrow that works for you. Arrows are made from materials such as wood, aluminum, carbon, or a mixture of carbon and aluminum.
Once you understand all your parts and measurements, you can assemble your bow together. A recurve bow is much easier to assemble. As the Samick Sage is a takedown bow, you need to screw in the limbs, set the brace height, attach your arrow rest, and place the nock correctly.
How to String a Samick Sage Bow
You can utilize a good quality stringer made from nylon material for stringing and unstringing your bow. Besides the safety consideration, the stringers prevent unwanted twisting of your bow limbs. A bow square with markings is also necessary for correctly placing your nocks and string tuning. The assembling and stringing of your bow are as follows:
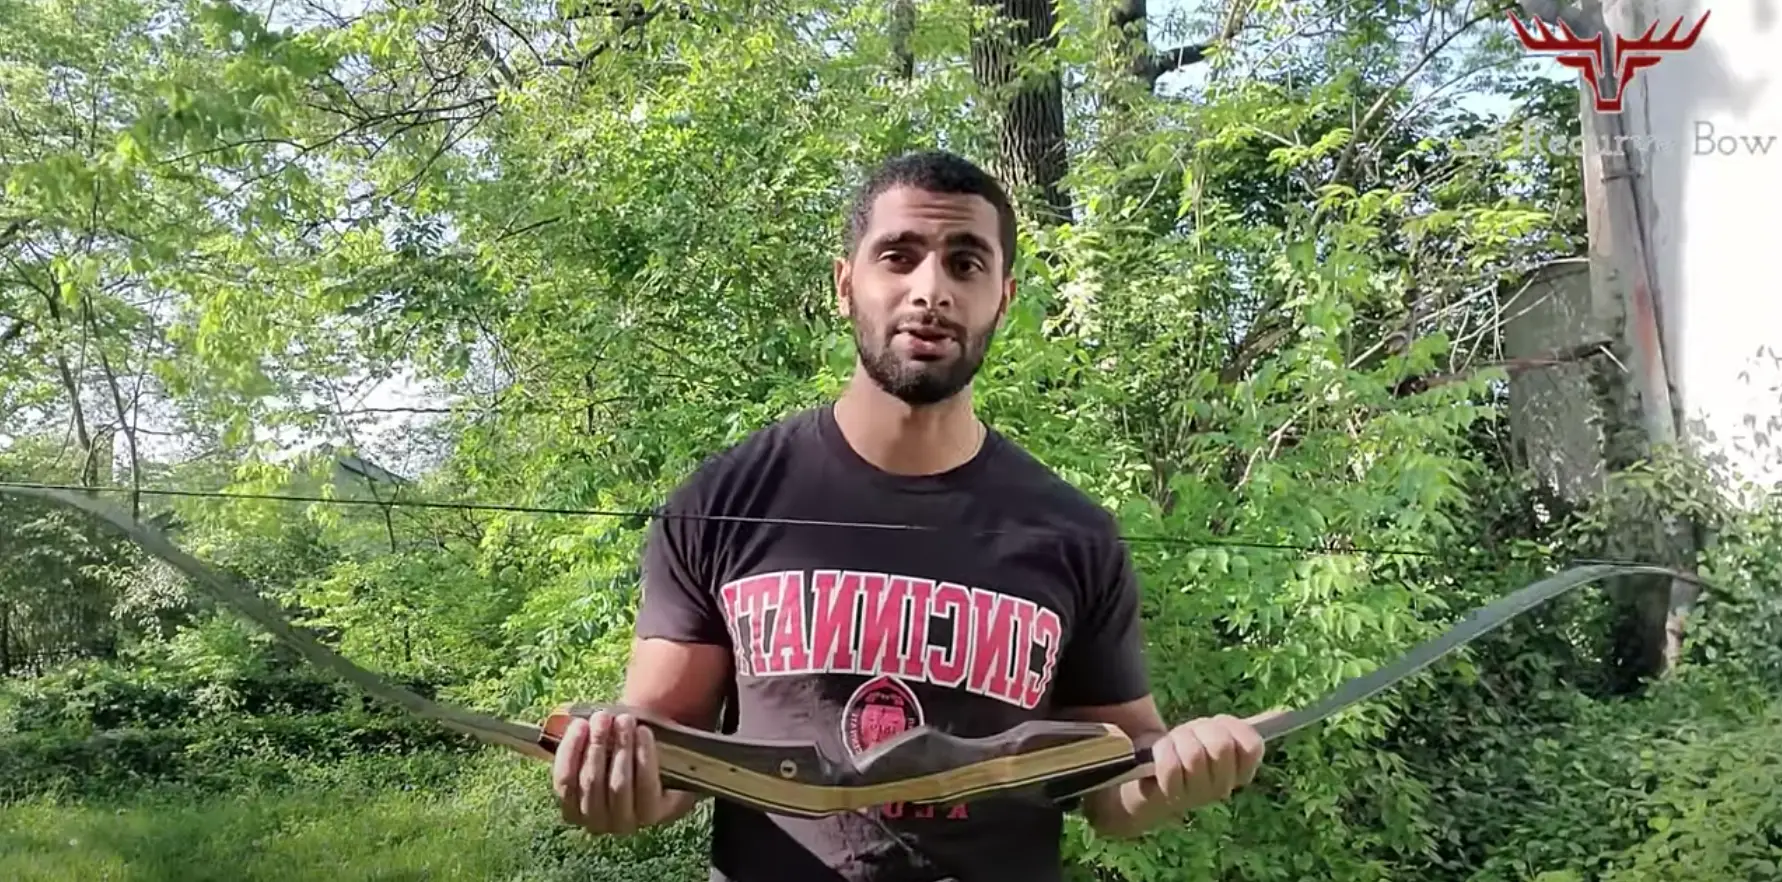
- First, identify your bow limbs. The lower limb has writing on its back while the upper limb is bare. Align the lower limb bolt hole to the bolt hole of the lower end of the riser. Screw in the bolt and tighten it. Repeat the same process to connect the upper limb to the riser. Ensure the limbs are curved outwards once they are attached to the riser.
- Your Samick Sage bow comes with a large and smaller loop at the bowstring ends. To attach the string, pull the larger loop over the lower limb, pulling it approximately halfway down the limb. Place the smaller loop in the groove at the top of the upper limb.
- Now you can use your bow stringer to string the bow securely. Attach one end of the bow stringer to the end of the lower limb and then slide the top end of the bow stringer past the curve of the top limb.
- Grip the riser tightly, hold the bow in a horizontal position and let the strings touch the ground.
- Place your foot on the stringer while pulling the bow upwards. The flexing of the bow allows you to slide the bottom bowstring loop into its groove. Once the bowstring is in position, you lower the bow slowly, which will create tension in the bowstring, completing the stringing of your Samick Sage takedown recurve bow.
- Before you start using your bow, you need to check if your bowstring is correctly strung by measuring the brace height. The brace height is the distance between the deepest part of the riser grip and the bowstring. The brace height for the Samick Sage is 7.5 to 8.25 inches.
- A tape measure can be used to check this measurement. If the brace height is under the required height, unstring the bow, and twist the bottom bow string several times. Restring and check if you made enough twists. You can increase the twist if the brace height is not adequate.
- Over time the brace height may change again and may need readjustment. The same method can be used to correct the brace height.
- Once the brace height is within range, an arrow rest is placed over the hole in the bow riser. The arrow rest can be attached via ready-to-stick adhesive, screws, or bolts. Make sure the arrow rest is correctly placed.
- Finally, you can place the nocking points on the bow using a bow-square as it can give you the most accurate coking point positions. Place the bow-square flat on the arrow rest to find the nock point. Use the recommended length along the string as guided by the bow-square measurement.

To find the best position for your nocking rings, place your arrow in the nocking position you’ve just marked. You can now tightly fasten the nocking rings with appropriate pliers onto the string on either side of the arrow.
Now your Samick Sage recurve bow is ready to use!
There are other parts that you add to your bow to tweak it further, but this is a basic guide that focuses on mastering the essential components of a bow and their assembly to get you started on your archery journey.
Archery is my hobby & I usually hunt and play on weekends and after work. It’s a passion since I was very young and I love writing about it as well to continuously learn more and share the love of archery with others!